Rising Damp Causes and Detection in Australia begins with a simple truth: all moisture can travel through masonry upwards via the action of capillary when the wall does not have a good barrier that separates it from the soil. In turn, it may cause tide marks, salt deposits, peeling paint, crumbly plaster, and a musty smell; however, they might also signal leaks, condensation, or penetrating dampness.
This article by Grace Maris will help readers to understand how to detect rising damp, what causes it, how professionals check for it, potential treatment methods for rising damp in Australian homes and so on, also giving the readers an overview of the National Construction Code (Building Code of Australia) and an explanation of the reasons why an old Queenslander and a brick cottage behave differently.
What is Rising Damp
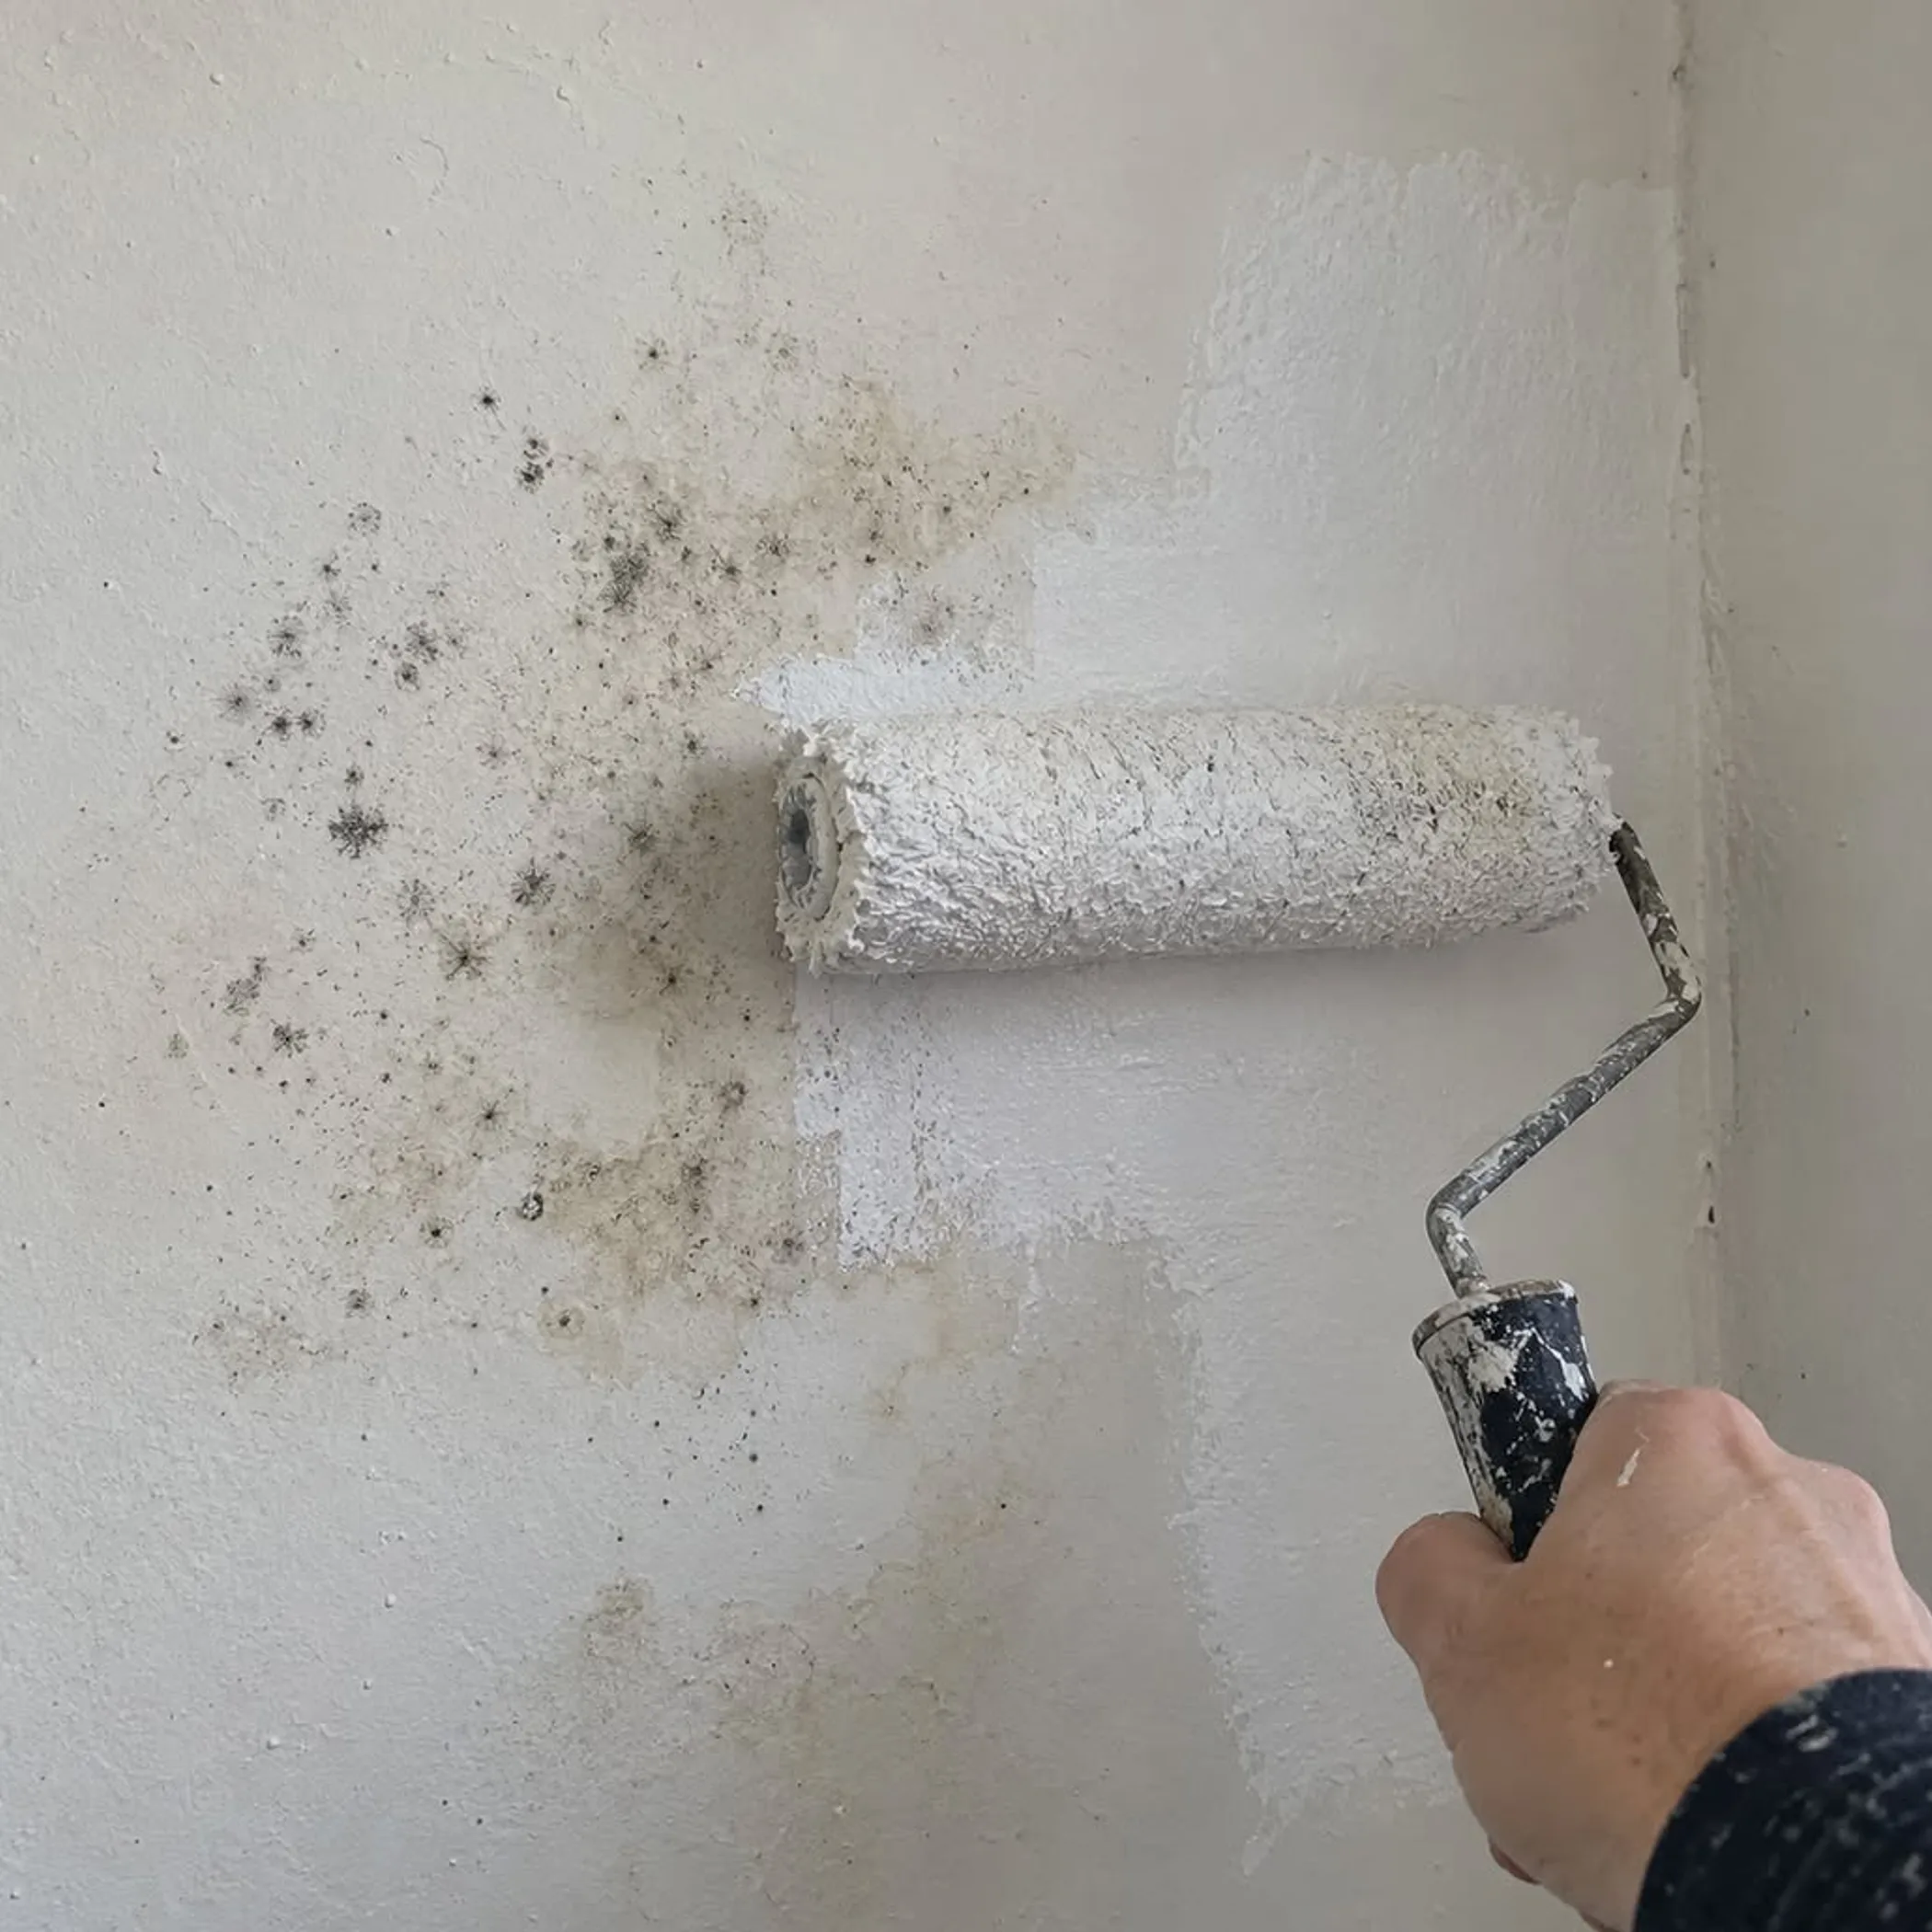
Rising damp is moisture moving from the soil into the wall, floor, or some other porous building materials. Groundwater carries dissolved salts into walls, while evaporation, occurring at the outer surface of the wall, leaves behind salt deposits known as efflorescence.
This is indeed a problem in buildings, but often being hastily blamed for it. A damp wall does not mean it endures rising damp, and moisture meter reading is not sufficient to prove that either. The pattern, height, salts, and construction design all play role in defining rising damp, especially when comparing moisture protection levels.
How Does Capillary Action Work
Brick, stone, mortar and some renders contain small pores. When they receive water from wet soil or wet subfloors, they are able to move water upwards in the same way a paper towel touches a spill. A DPC provides good prevention of the moisture movement.
Rising damp typically affects the lower part of the wall rather than appearing randomly all over the wall surface. The actual height of rising damp varies depending on the material, weather, evaporation rate, salt type, drainage, etc.
Common Causes of Rising Damp in Australia
The rising damp in Australia occurs rarely in the case of buildings with good DPC and does not cause any building issues. Rising damp is likely to occur in older homes where DPC is damaged, and renovations were done.
There are certain things that make the situation worse in Australia, like excessive rain or wet seasons in the Northern Territory, poor drainage, and humidity that keep masonry damp for longer. People who live in Brisbane, where I live, may think that there is a problem with their wall, but it may be just humidity or some other reasons.
Common Ground-Level Causes
Typical causes include missing, bridged, poorly installed or damaged DPC, high soil levels, poor drainage, wet subfloor areas, and paving that directs water towards the building. In some older homes, the original damp-proofing may have valued or may have not been installed at all.
The ventilation of the subfloor area also matters, as blocked vents can reduce evaporation, making your floors damp. A Queensland house with suspended timber floors is going to behave differently to one made of solid brick and on a concrete slab. Any building inspection should look at the entire building, not just the most hideous paint patch.
Identifying The Key Indicators
The signs of rising damp will typically be found at the bottom of a wall, often with an uneven upper edge. They can be hard to detect and then become costly to fix after the drywall, skirting boards and decorations start to fail.
Signs and symptoms can commingle with other types of moisture issues so they should only be used as hints, not conclusions. The table below can help structured observation before summoning in someone else.
| Something you can observe | What might this suggest? | Identify next |
|---|---|---|
| Damp margin on wall close to floor | Rising moisture, plumbing failure or splashback | Height of wall, pipes, ground levels and drainage |
| Flaky powder or crystals | Salts deposits or efflorescence | Whether salts focus inside, outside, or both |
| Peeling paint and flaking plaster | Moisture behind the surface | Type of plaster, ventilation, and whether painting in the past |
| Black mould at corners or ceilings | Condensation, leak, or lack of ventilation | Humidity, coldness, roof leaks, and usage of space |
| Localised wet patch after rain | Penetrating damp or flashing failure | Roofing, gutter, window, or outside crack problems |
Nature Of Height And Pattern
Rising damp most often occurs at low levels on a wall and maybe rise for several hundred millimetres, but there is no solid rule for height. Some walls may have damage only at skirting-board height only, while others may display similar to bands of damage. Highly permeable materials and consistent groundwater, loss of evaporation etc., can have different factors.
It is going to be used as good evidence if there is a sharp definable tide mark, but not exclusively for rising damp. Flooding, a burst pipe or frequent cleaning products etc., can also leave similar line appearances. Supporting evidence is going to be more useful to look for such as salts, the nature of the ground outside and any scenario consistently on adjoining walls.
Indoor Air And Health Indicators
A lot of people are going to have damp walls when they also have a musty smell, mould and stale air etc. It should be noted that they don’t point you to definitive source. Mould exists from condensation on cold surfaces, roof leaks, bathroom steam etc.
If anyone in your house is suffering with breathing problems or health issues, reduce exposure to visible mould and get proper health assistance. Over and over mopping or cleaning products will not address the moisture supply.
Assessing Rising Damp Scientifically
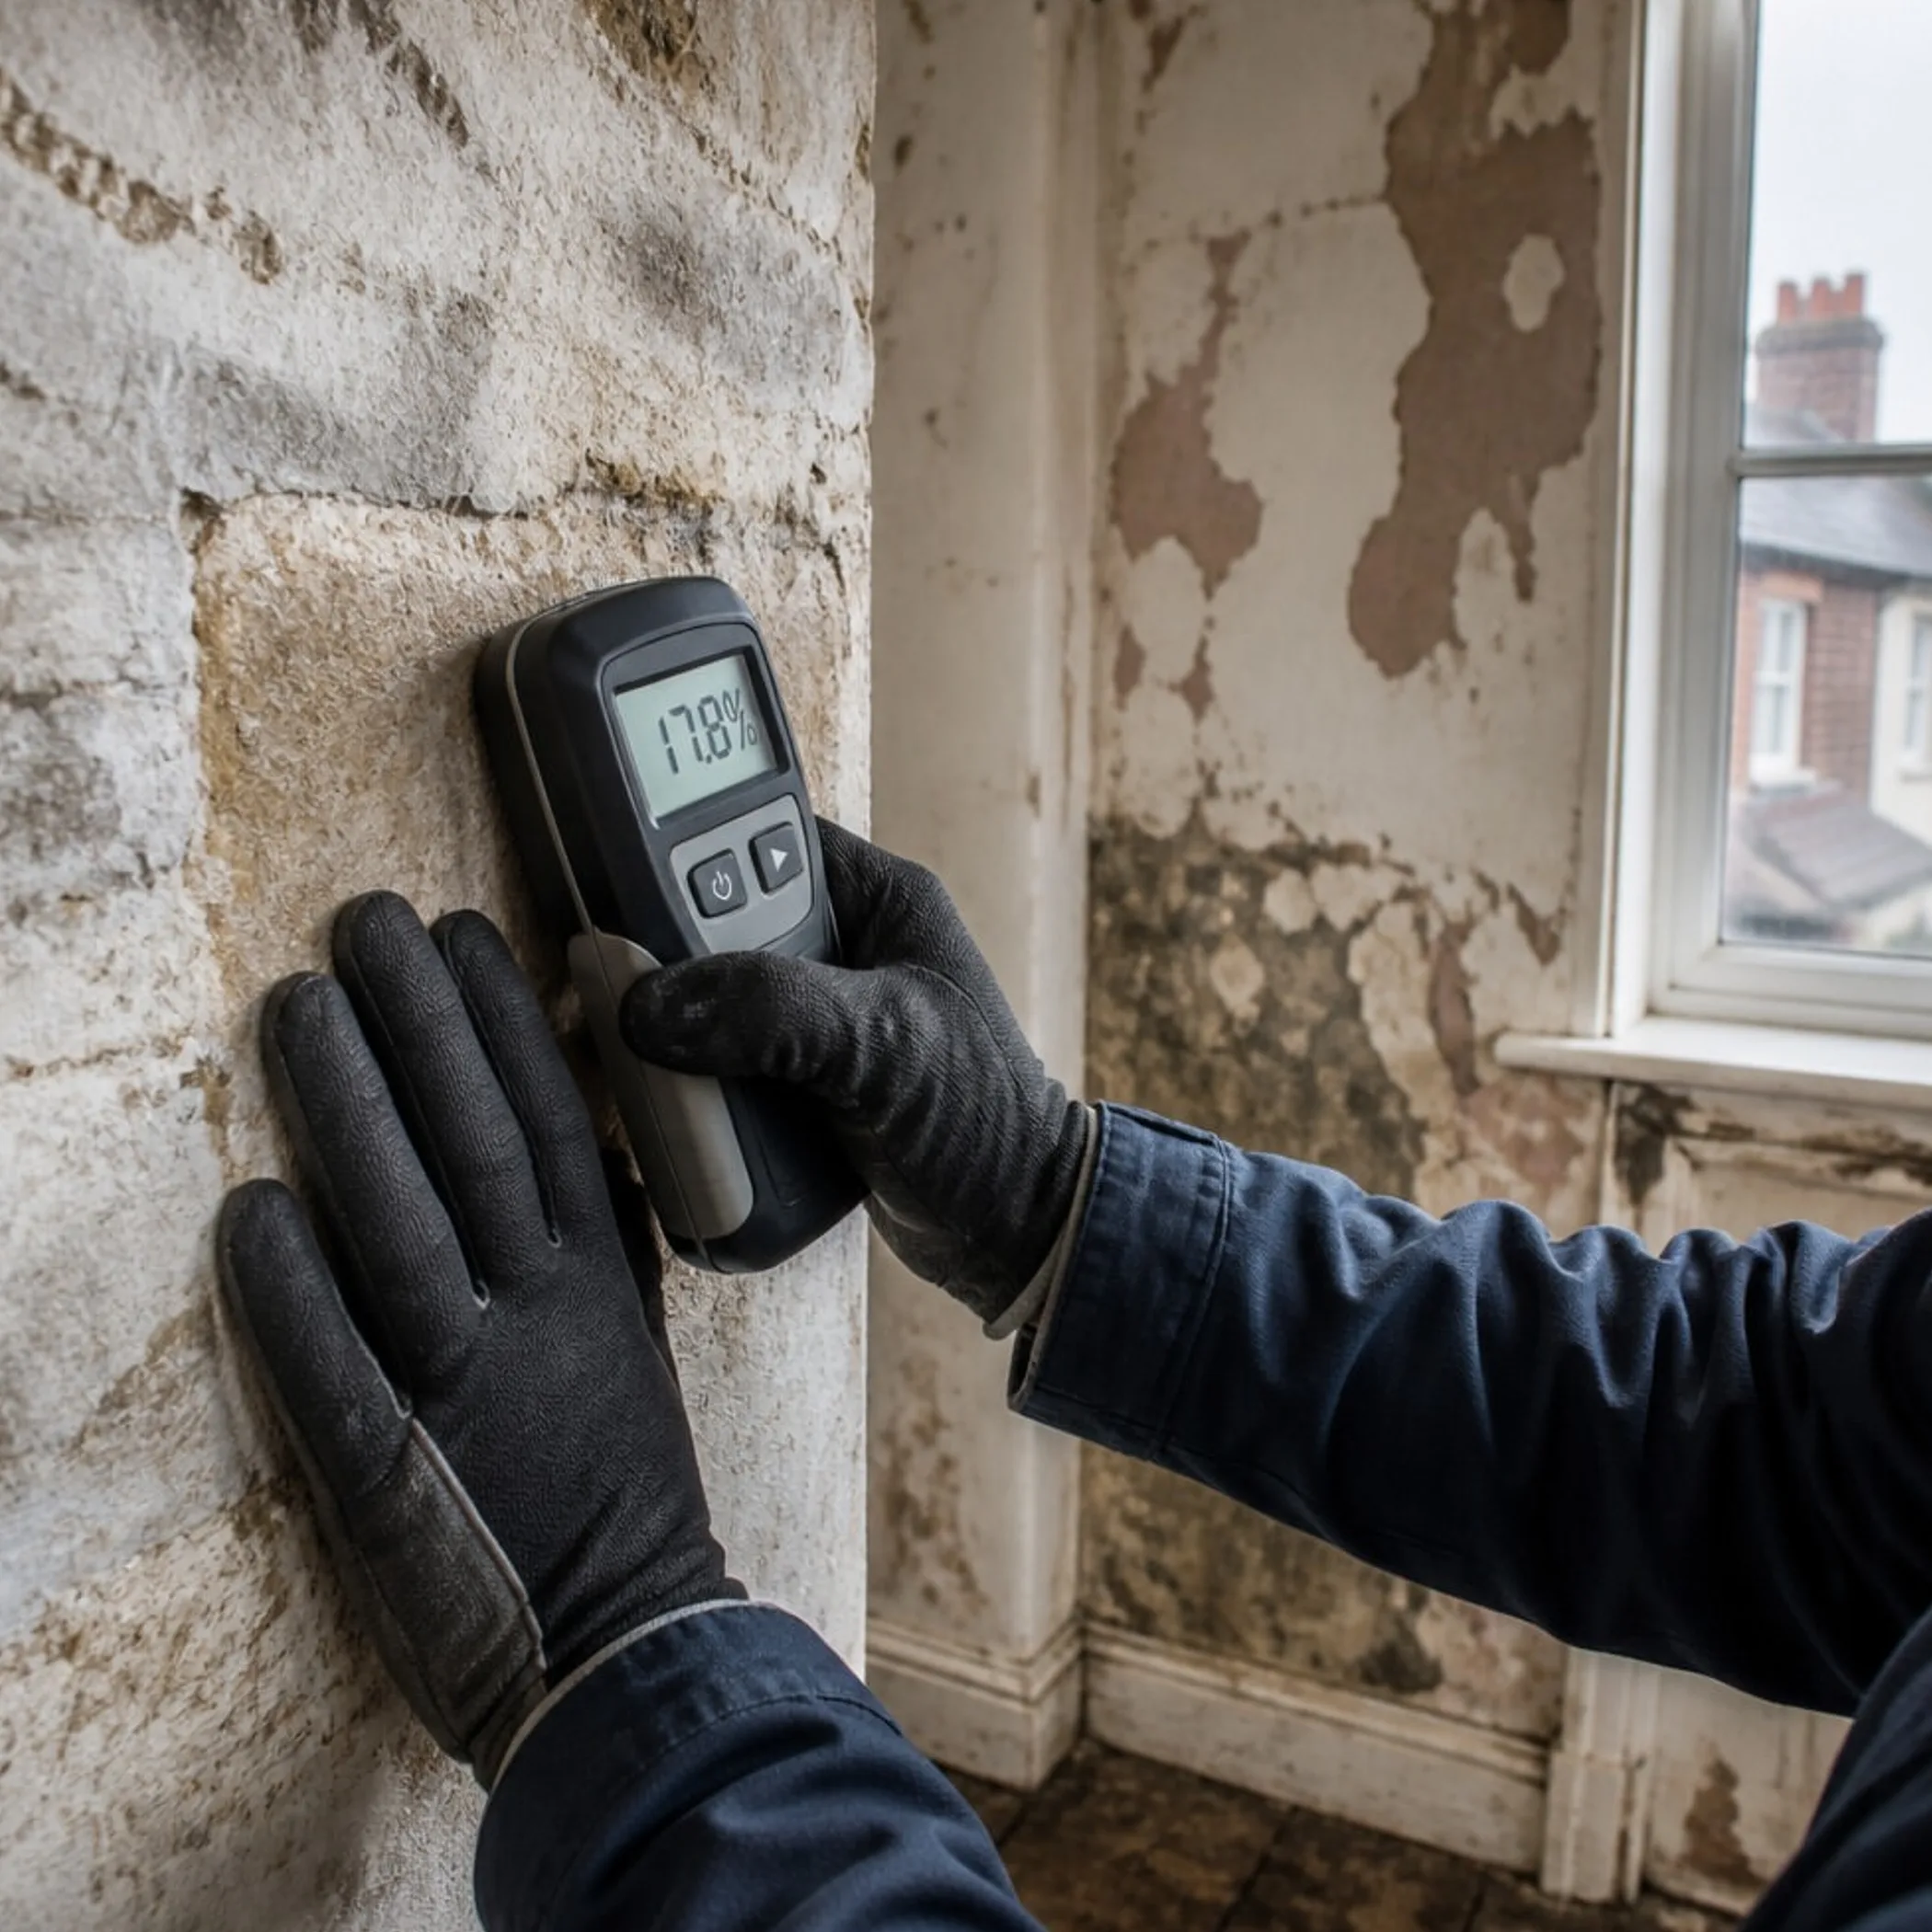
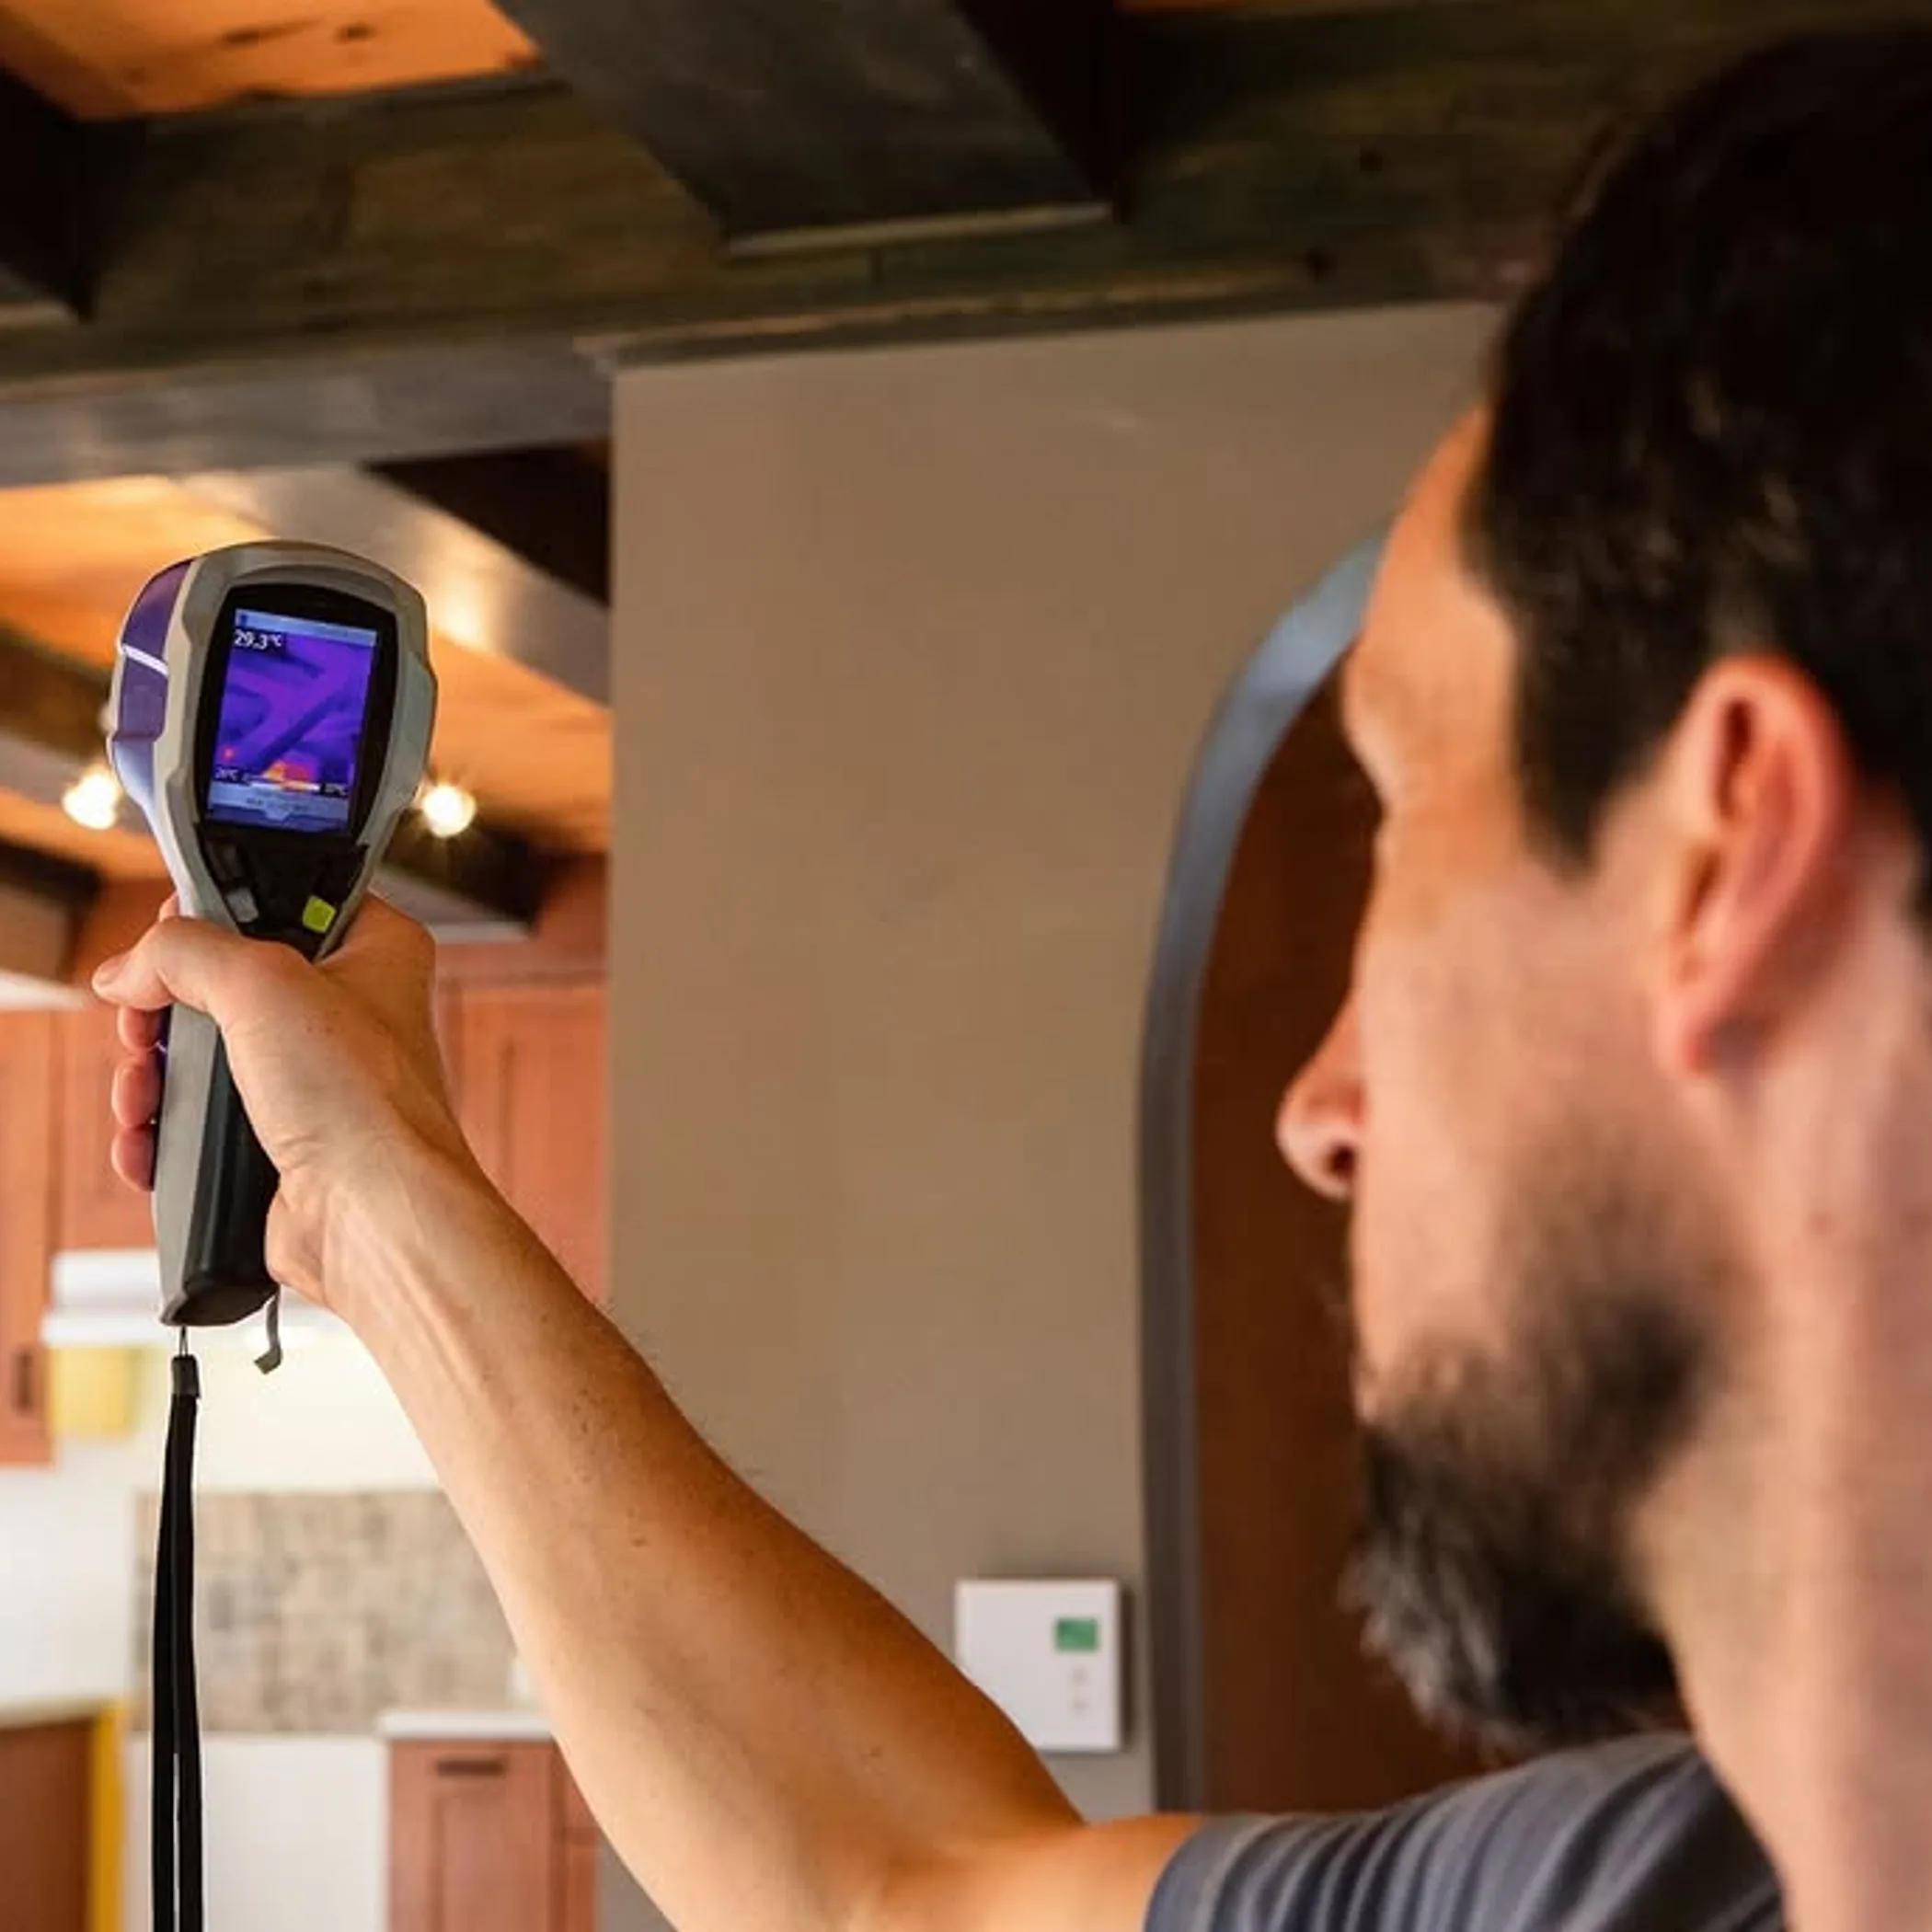
Identifying rising damp is about more than just putting a hand-held meter on the wall. An expert should include visual inspection, moisture readings, salt counts if necessary, construction issues and entry points of potential sources of moisture.
You could take a bit of visual evidence first instance. Take photos of every affected wall, document damage and height, describe recent weather and inspect both sides of the wall where access to occurs. This bit of preparation will eliminate a rushed guess based on pressing a button on one alarming device.
A Simple Inspection Checklist
- Look for a visible DPC or damp proof course horizon about outside ground level.
- Measuring distances between soil, paving, beds and suspected DPC.
- Look for blocked ventilation, wet space or plaster problems.
- Gutter, downpipes, roof joints, and plumbing issues should be inspected.
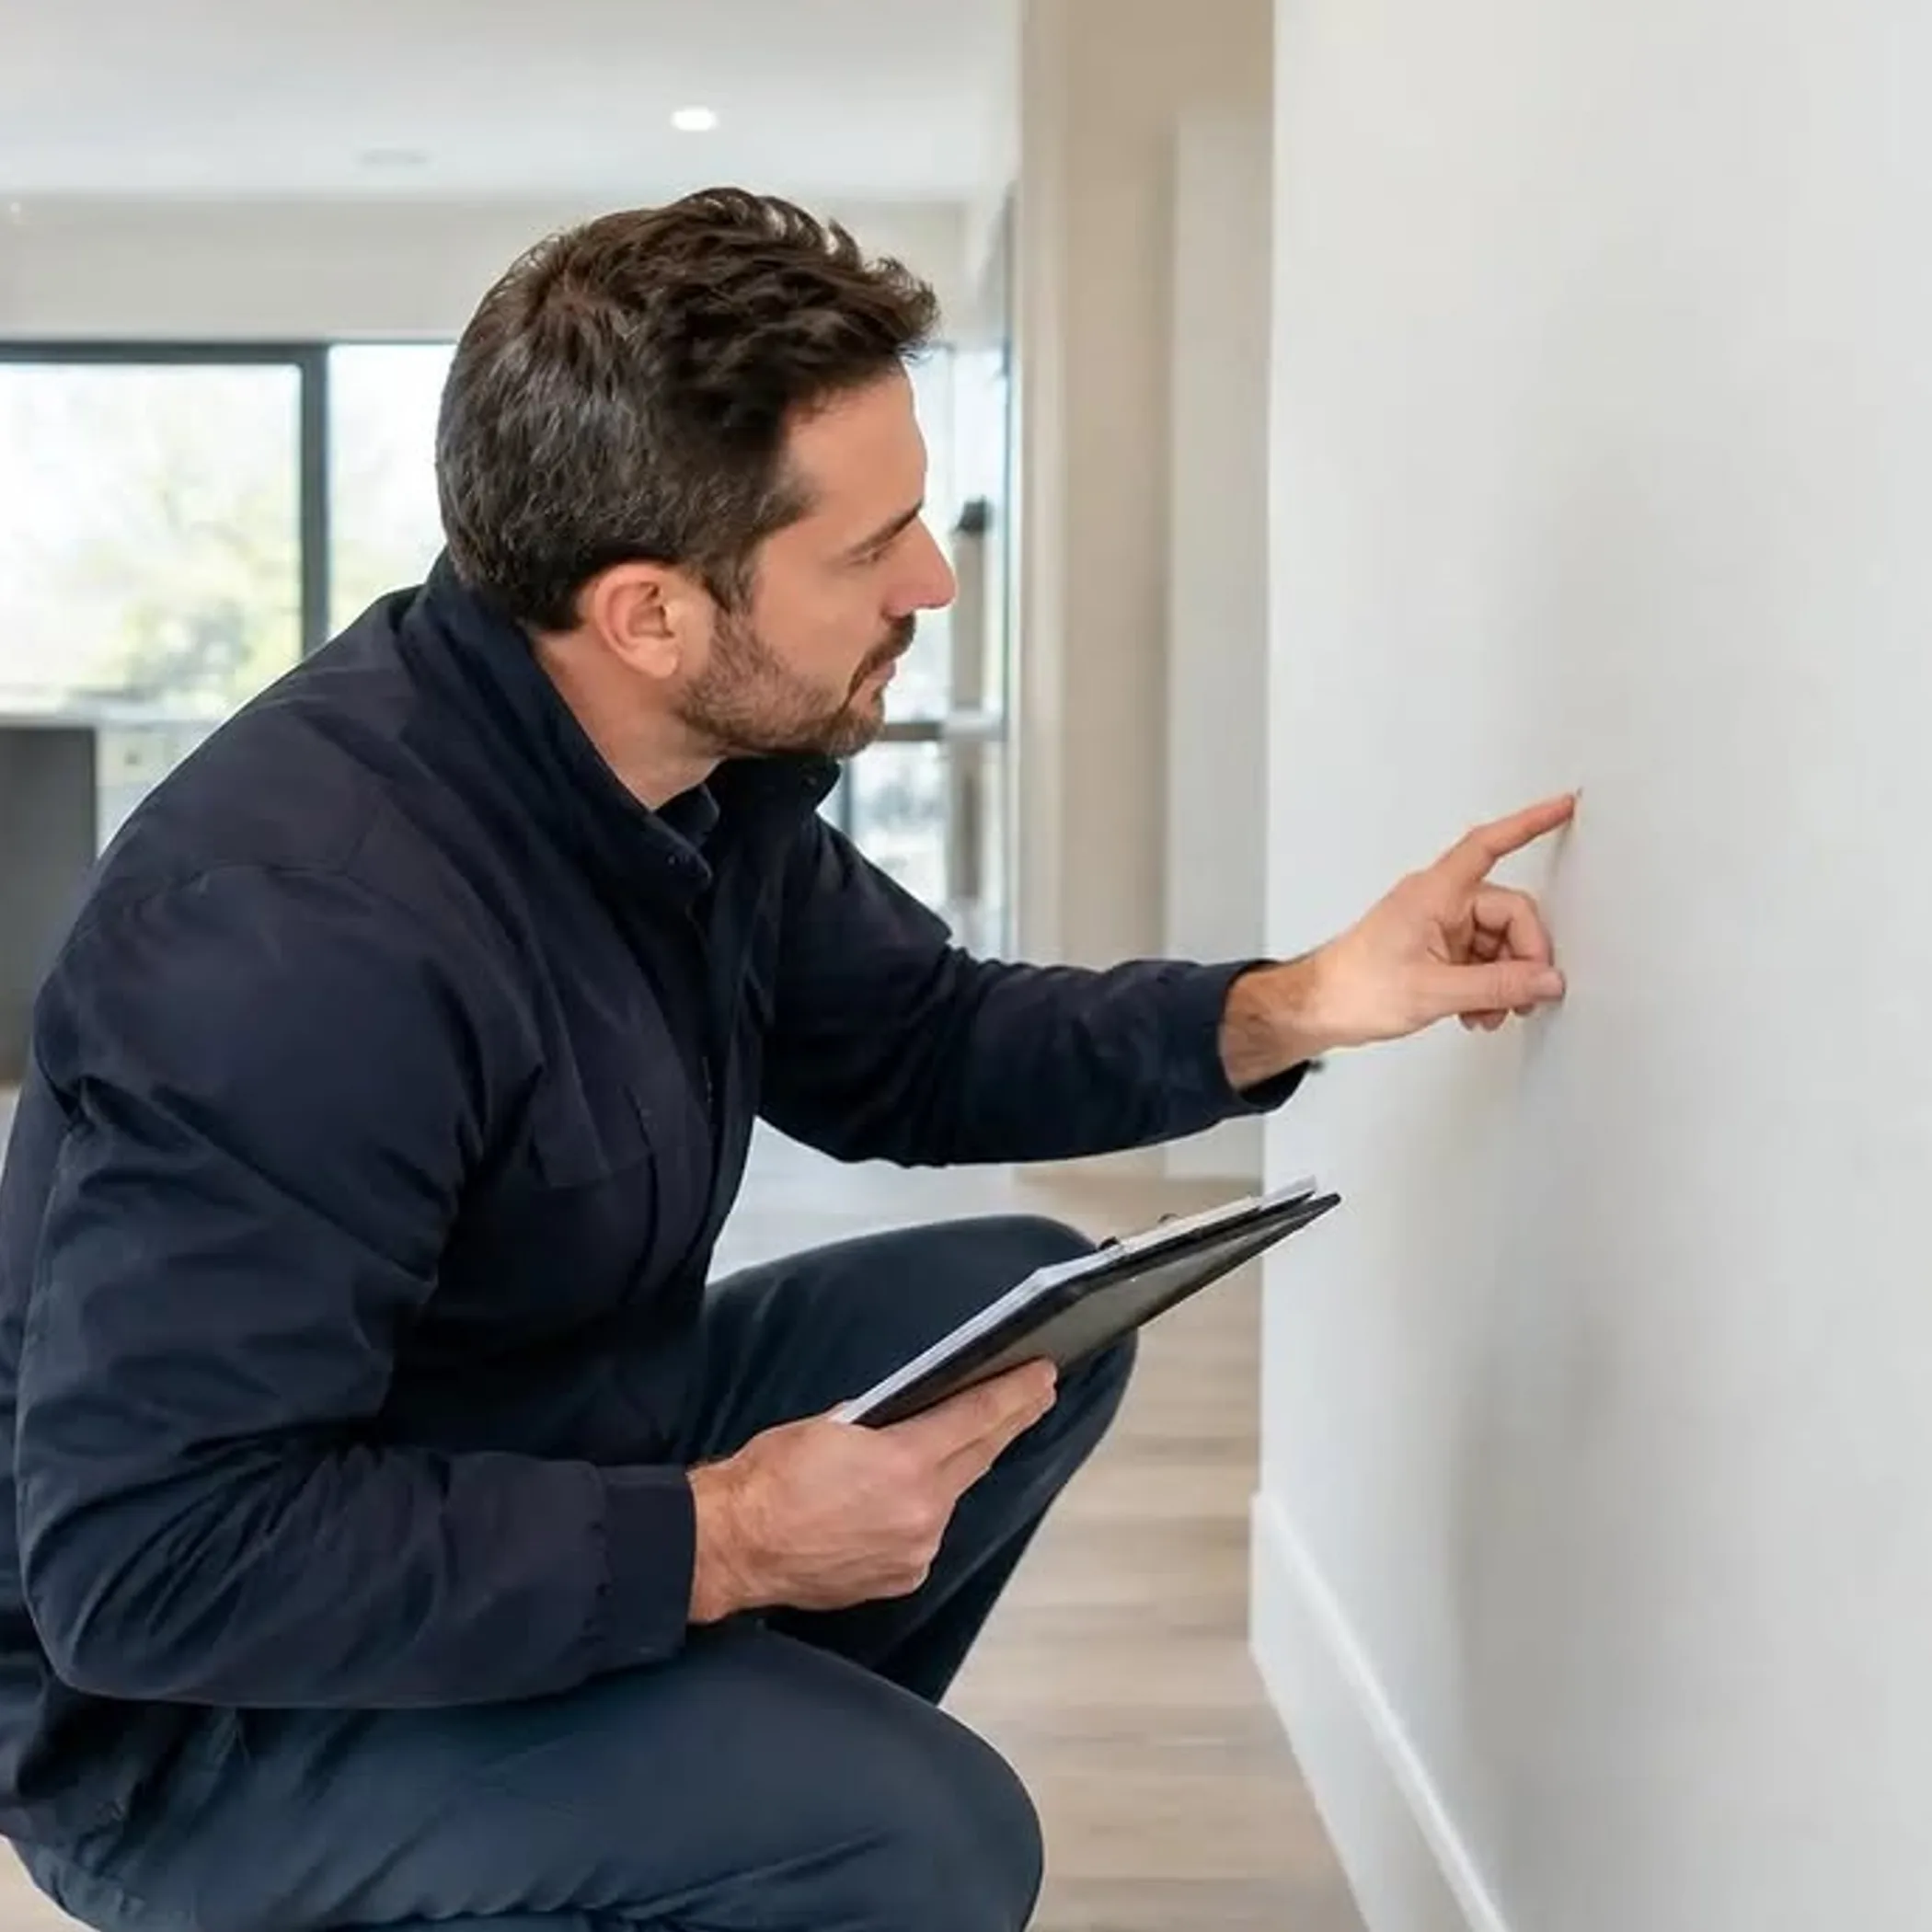
- Give enough time for a proper inspection for rising damp. A simple, accessible house can take around 1 hour or more, when including looking at the external wall and subfloor ceiling and rooms. Having a crawl space, hidden plumbing, rain on the day of inspection or having normal rooms can prolong the visit. Clear away some furniture, unlock back gates, and make access to the subfloor is safe for the inspector before they arrive.
Moisture Meter And Salts Detection
Is it possible to identify rising damp using a moisture meter? Although the moisture meter can help in recognizing moisture patterns, it is not a foolproof method of determining the source alone. Different moisture meters correspond to different elements like metal, density, material type, and salts. Hence, interpretation of readings require background knowledge and comparative analysis.
By conducting a salt test, the inspector can establish whether the moisture has arisen as a result of surface spillage or condensation, or whether the moisture has transversed through masonry. Keep in mind though, the salt test is not at all a miracle dust. The inspector will explain the method and limitations of the test to you and should be able to advise you if there is a need for lab testing.
Separating Different Problems With Moisture

Many people often seek to understand the difference between rising damp and penetrating damp. Rising damp starts from near the ground level while penetrating damp is a direct result of rain damage or faulty roof, windows, walls, etc.
There is yet another type of dampness caused by condensation. Condensation usually occurs when moist hot air flows and gets in contact with a cooler surface in the house like windows or cold walls.
Localizing A Problem
Often penetrating damp will form some localized patch which will get worse after a rain. This patch could be found beneath a junction in the roof, beside a window, or on some cracked render surface. The pattern will be more discrete for rising damp, although the buildings will hardly comply with a proper pattern.
You may find leaks everywhere. A person may see a rise in dampness, as a result of a leak in a bathroom pipe. Hence, selecting a contractor for damp-proofing the building might require investigation of plumbing, drainage, and possible leaks.
Understanding A Diagnosis By A Professional
The contracted builder should be able to identify a probable source of moisture and provide proper explanation of his findings. A person needs to worry whenever he is being recommended to initiate the required measures before inspecting external drainage and level of ground.
The client should ask for photos, reading of moisture levels in different locations, possible diagnosis and a scope of work.
Inspection Prices And Access
There is no average price for inspections and repairs, as the costs depend on various factors, including type of building, state of the building and size, locations and types of failure requiring special testing.
Whenever the cost suggested by the inspector seems too high, the client should obtain a written opinion and compare his price with the other suggestions.
Assessing Damage
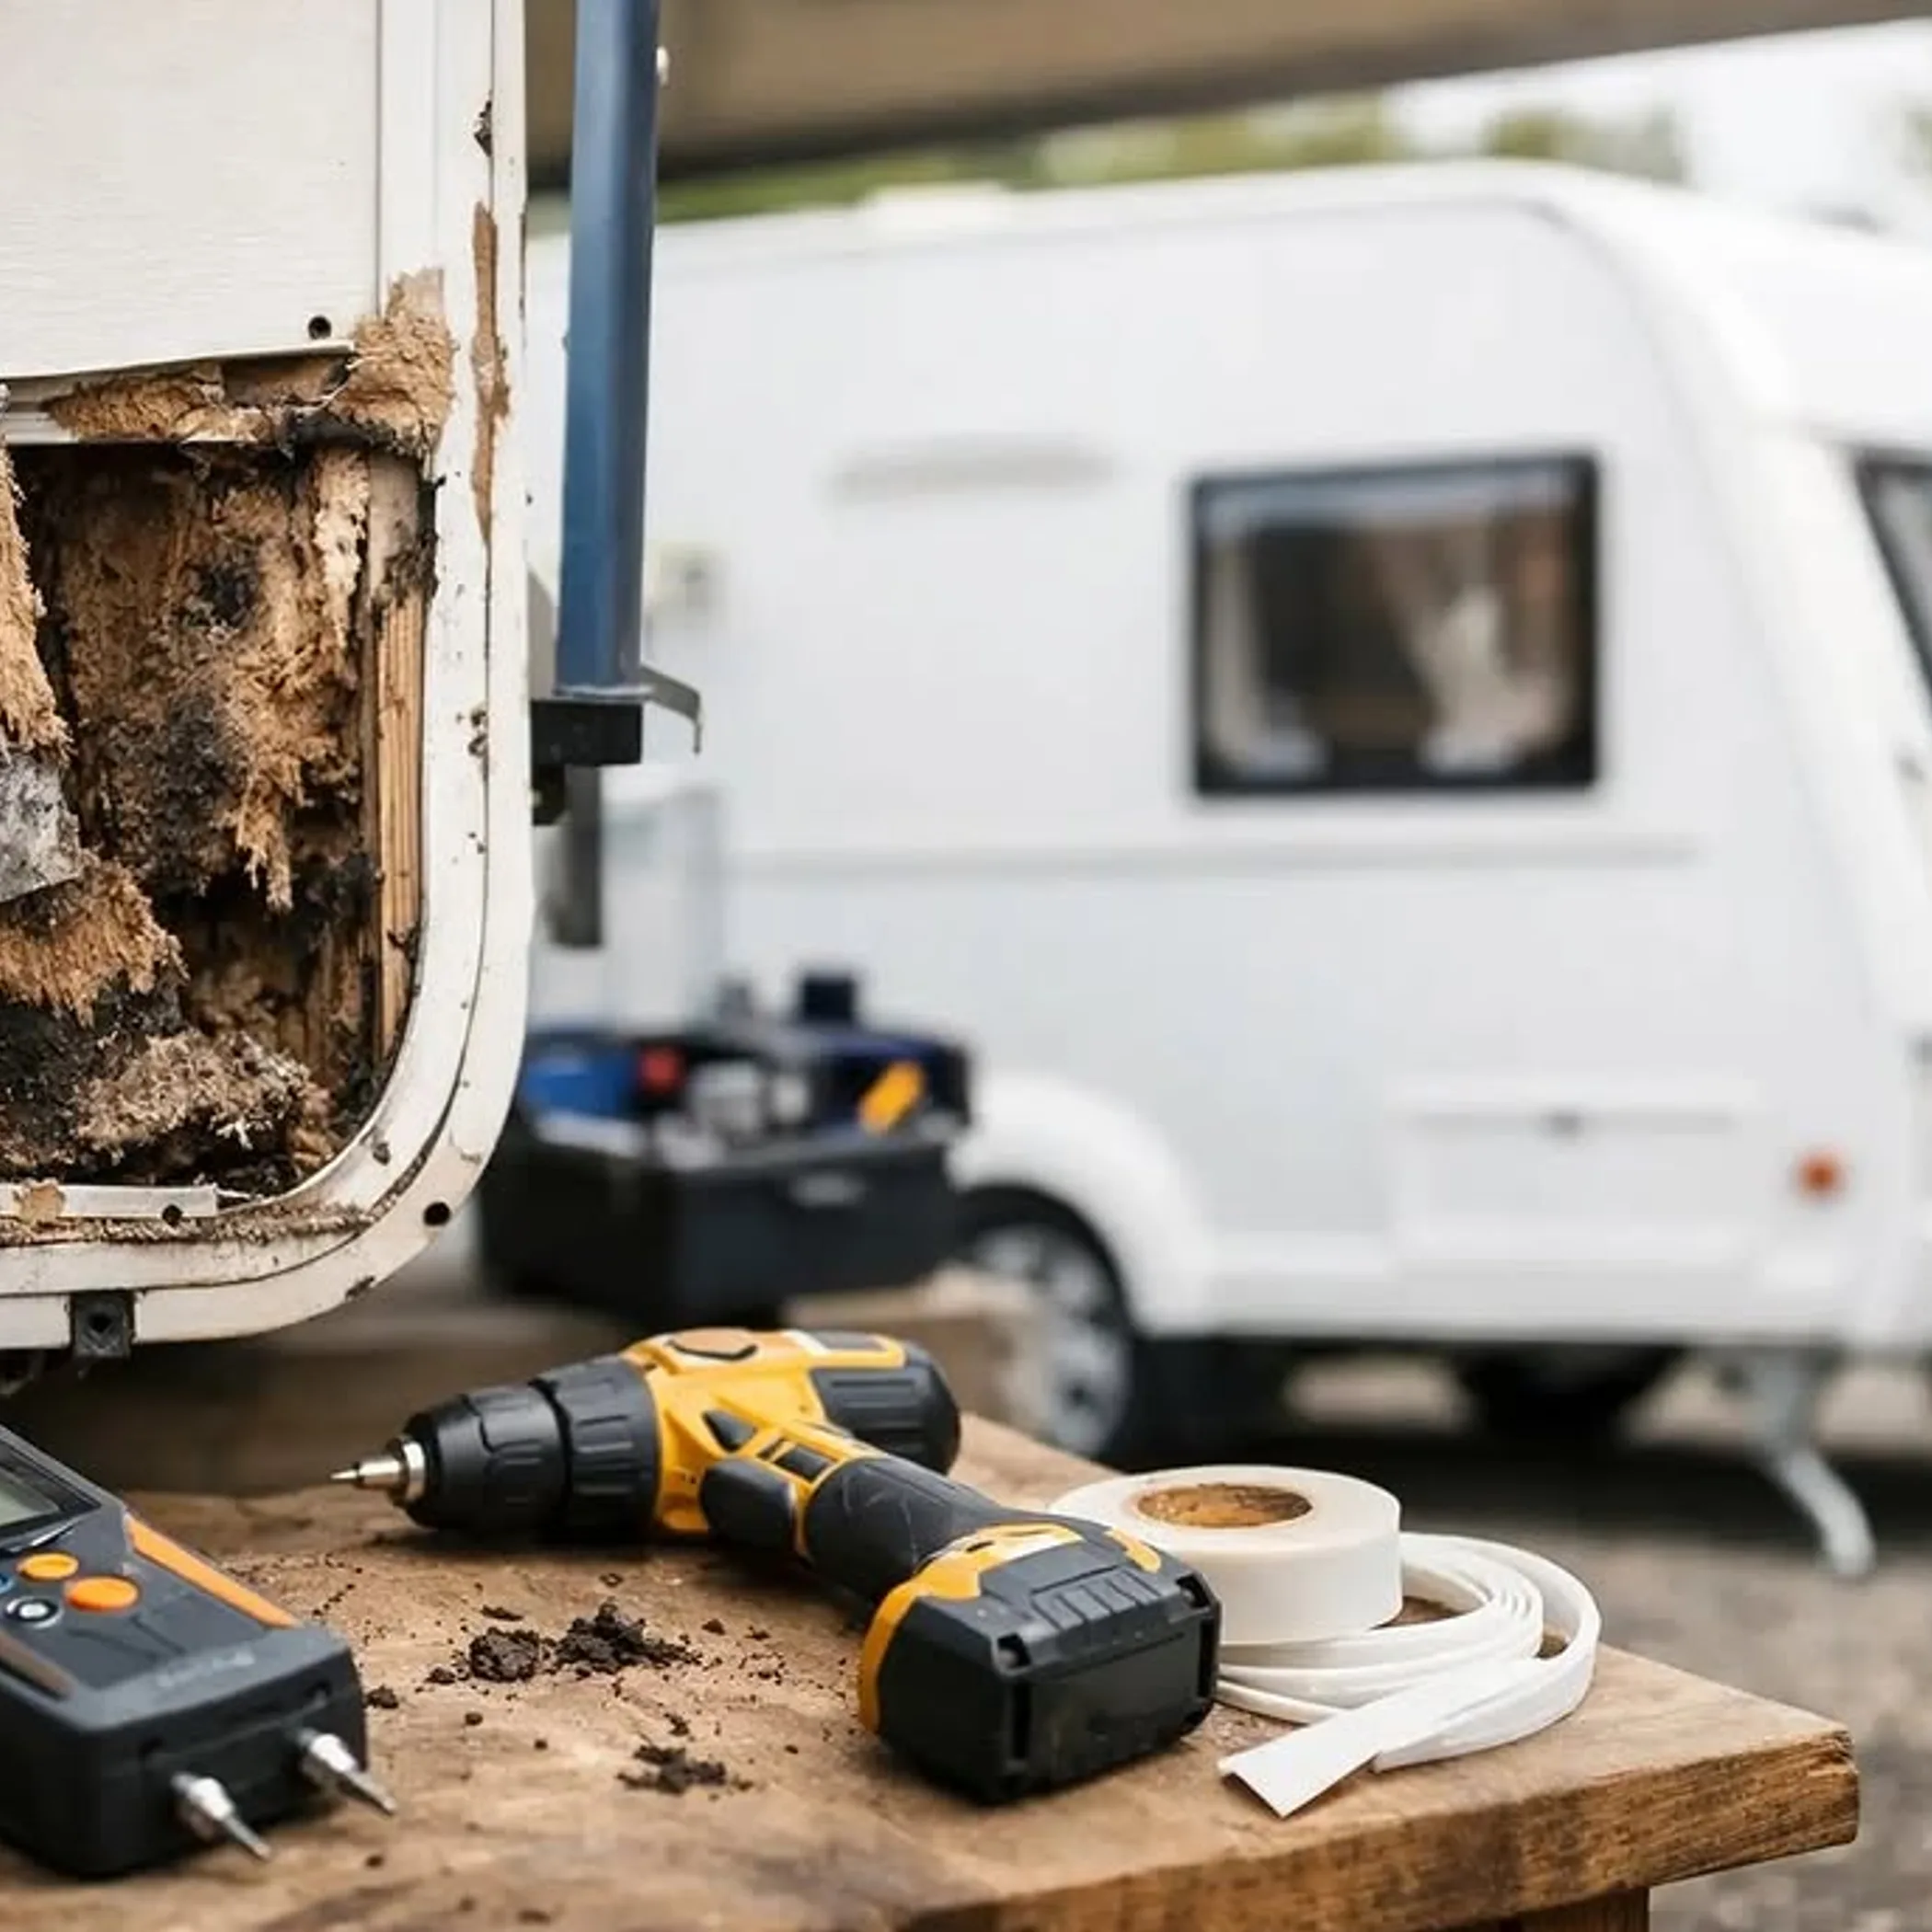
Persistent moistness may lead to plaster, paint, skirting boards and floor finish damage. In timber houses, wetness may even cause decay or attraction of pests.
Often, trapped moisture in different layers can cause indoor air pollution and mold growth. Even though a person can see a fungus, this does not mean that he/she should act immediately.
Who Needs Better Attention
When inspecting a home, you may discover that your place has children or elder people living in it. It is paramount for them to be monitored to get rid of foul smell and visible signs of fungi.
Selecting Treatment And Prevention Strategies

Effective treatment for rising damp should first deal with the source of moisture. The appropriate action may involve lowering ground levels, improving drainage, fixing plumbing, maintaining subfloor airflow, removing a bridged DPC, or implementing a certified damp-proofing system.
Remedial damp-proofing can be done with injection chemicals, a physical barrier or other systems, depending on the type of building and conditions in the area. There is no universal approach for treating rising damp in Australian buildings. The correct approach is determined by type of masonry, access, salts, wall thickness, floor construction and other relevant factors determined during inspection.
Reasoned Repair Plan
Professionals should prevent or minimize moisture entry first, let the wall dry out, remove damaged materials where possible, restore compatible finishes. Drying can take weeks, sometimes longer, depending on the temperature and humidity level. Replastering too soon is a common way of getting exactly the same problem twice.
Prevention starts from outside. Make sure gutters and downpipes are in good working order. Help rainwater to drain away from the building. Avoid building up garden beds against the wall, and do not forget to clean vents. For wet-season regions, inspect drainage before heavy rains. During dry periods, check for cracks or failed seals.
Comparing Protection Levels
When comparing methods of rising damp protection, make sure to compare the whole moisture path – not just the product label. An effective DPC cannot protect against bridging, poor drainage and internal condensation.
The National Construction Code (NCC) provides a framework for many aspects of building work. The state and territory requirements matter as well as the age of the building. Some resources from the Australian Building Codes Board about the National Construction Code will get you started. Existing home repairs may need more support from your local brand or licensed builder.
| Protection area | What good practice considers | Owner’s practical question |
|---|---|---|
| Ground moisture | The right level of DPC continuity, wall materials and soil clearance | Can moisture get past the barrier? |
| Rainwater | Gutters, downpipes, flashing, roofs and exterior cracks | Does the damp get worse after heavy rain? |
| Subfloor conditions | Ventilation, drainage, standing water and moisture in timber | Does the air move under the floor? |
| Indoor humidity | Bathroom ventilation, air movement, heating and cold surfaces | Is condensation being misidentified as rising damp? |
Common Questions
What Are The Most Common Causes Of Rising Damp?
The most common causes are contact with groundwater, capillary action through porous masonry, missing or failed DPC, bridging soil or paving, problems with drainage, wet subfloor, etc. Plumbing leaks could resemble a rising damp problem too.
How To Tell If The Damp Is Rising?
Rising damp raises on walls in a band, and could leave salts or a tide mark. On the other hand, penetrating damp affects a small area usually close to a roof, window, gutter, crack or external wall, and could worsen after rain. A professional inspection is needed to determine the cause.
What Does Rising Damp Look Like?
Common signs of rising damp are non-higher-than-desk-level moisture on walls, visible salts, efflorescence gaps, peeling paint, disintegrating plaster, damaged skirting boards and musty smell. Not all signs are definitive.
Can Rising Damp Be Repaired Once And For All?
Long-term control over rising damp can be achieved if moisture sources are identified and treated. Permanent repairs are the result of several factors, including drainage work, performance of DPC, drying time, finisher compatibility and others.
Final Takeaway For Homeowners
Identifying rising damp involves a presentation of evidence, including low-level moisture, salts present, wall material, ground conditions, drainage condition and a detailed look at the DPC. Don’t be tempted to base everything on just a single reading on a moisture meter, or the quote of any illusional looking treatment.
Begin with observations, then follow up with a very thorough building inspection, rectify all the obvious water paths before proceeding with major works. Whether you are in a home beside the Brisbane River, on a cold southern section of land, or in a ver season town up north, the sensible order remains constant: find the water, stop the water and allow the building to dry.
